Mandy Rose is a full time mommy, blogger and co-founder of Happy Mommy Box. She needed a place to work on her blogs and decided to renovate her basement with the carpentry expertise of her father.
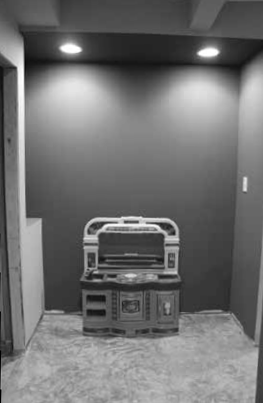
BEFORE

MY COLOUR SCHEME
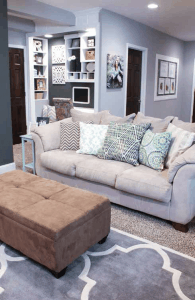
I am mildly obsessed with grey. Light grey, medium grey, dark grey…I love them all! Most of our home’s main floor is done in tans and browns so I thought it would be fun to make this space different.
FAVOURITE PART OF MY SPACE
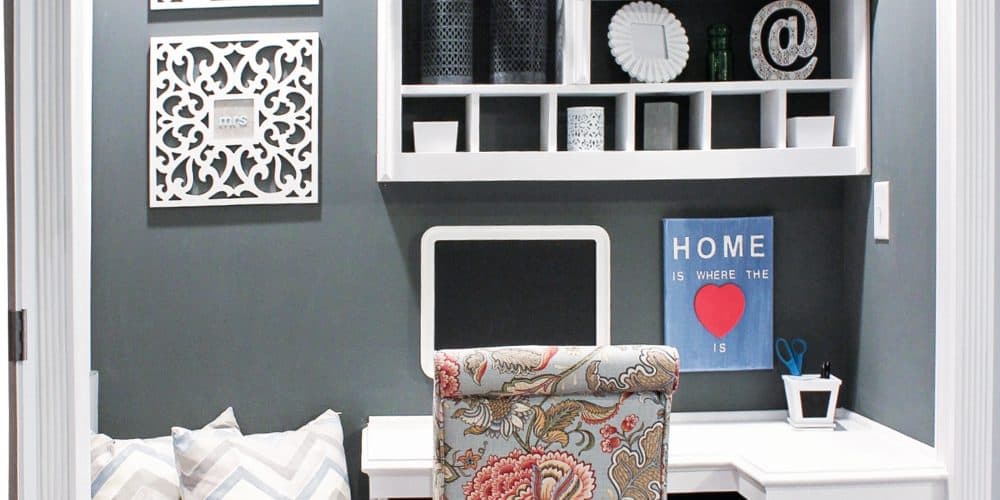
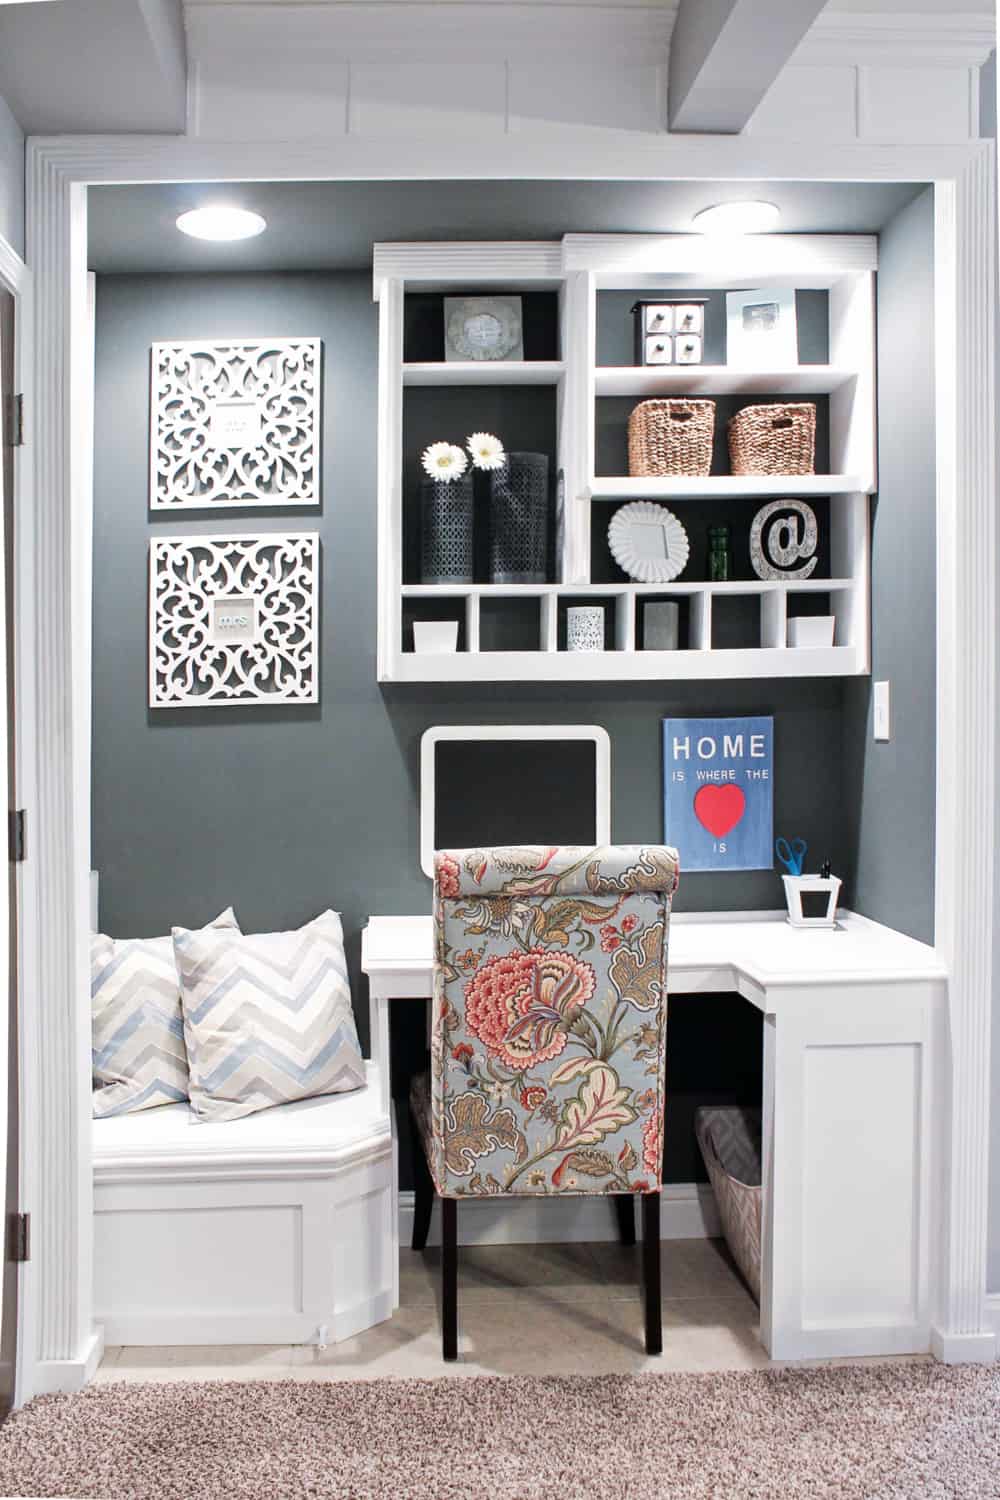
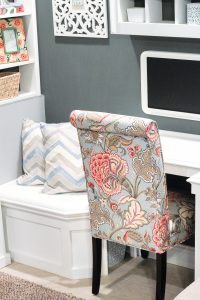
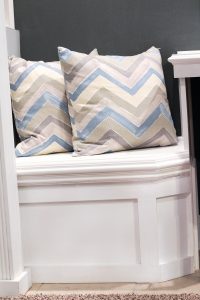
My kids love to sit on my lap so they can see what I am looking at on the computer. My favourite part of the space is, by far, the bench we included next to the desk. There’s no more trying to type with a kid on my lap. It is much easier when they have their own little seat where they can sit and watch.
MY ADVICE
Incorporate storage areas without sacrificing space! The space under the bench provides functional storage for office supplies without taking away any space from my nook.
MY GOAL
I knew that I wanted to have a small desk area in the basement so I could bring my laptop down there and work (or surf Pinterest – ha) if I wanted to. I also knew that I didn’t have enough space in the basement to dedicate an entire room as an office. That’s when the “office nook” idea was born. I originally saw a closet office on Pinterest and it inspired the basement nook idea.
THE CONSTRUCTION
Everything in this space (except the chair) was built by my dad. I had a vision in my head of what I wanted the nook to look like and he helped me bring it to life. Between my design eye and his handyman skills… we are a good team!
THE PERKS
1. The side bench for the kids (or adults).
2. The built-in bookshelf.
3. The storage space under the side bench for office supplies.
4. It offers the luxury of an office without taking up an entire room.
5. The white crown molding and trim really sets this space apart from just a regular office nook.
DAD’S ADVICE
Be careful to attach pieces in such a way as to provide plenty of strength and in such a way that fasteners (screws) don’t show. I would recommend using a compressor and finish nailer for attaching finish trim. Use wood glue where possible in addition to screws for main frame.
For more information about this space, visit www.houseofroseblog.com
Latest posts by Canadian Home Trends (see all)
- Creating the Perfect Outdoor Kitchen - April 20, 2024
- Classic Luxury Kitchen Design - April 20, 2024
- Color Journey: Spring 2024 - April 20, 2024