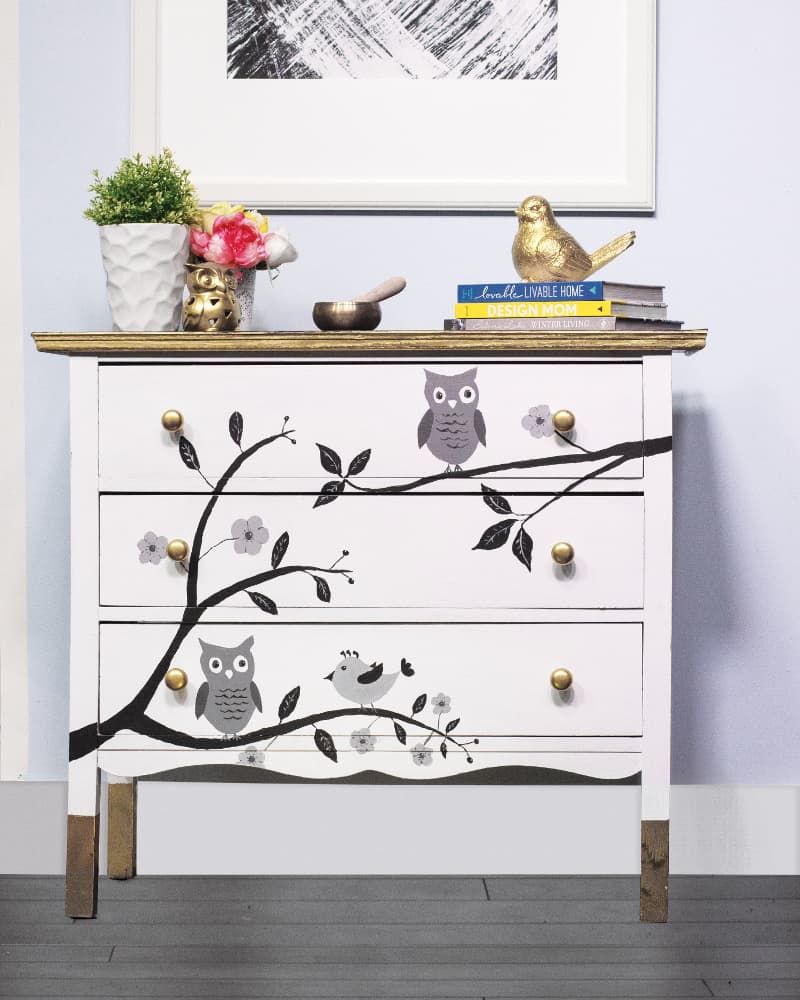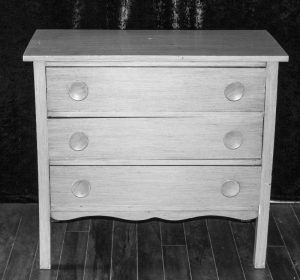
Marc and Mandy show you how to give an old dresser a makeover.
Material list
White Plaster Paint
Black Plaster Paint
Pink Plaster Paint (optional) Gold Metallic Paint
Wood Filler
Trim (long enough install on all three sides of dresser) Finishing Nails
Paint Brush
Painter’s Mate Green Tape 6 Knobs

1 Remove the existing hardware and paint the entire dresser in white Plaster Paint. Plaster Paint does not require sanding or priming prior to its application.
2 Add a pop of colour by painting the sides and interior of the drawers in pink Plaster Paint.
3 Choose your desired stencil. For this project, we chose a whimsical theme of birds and owls on branches.
4 Using Painter’s Mate Green tape, secure the stencil in place. Lightly paint the stencil in a desired colour. We used a mixture of white and black Plaster Paint to
create a monochromatic design. Apply multiple coats of Plaster Paint to create a stunning textured look.
5 Measure, cut and nail decorative trim around the top of the dresser.
6 Fill in any gaps between the dresser and trim with wood filler. Let dry.
7 Sand the top of the dresser as well as the trim, removing any excess wood filler.
8 Paint the top of the dresser in black Plaster Paint.
9 Paint the trim in gold metallic paint.
10 Measure and add a piece of Painter’s Mate Green tape six inches above the floor on each dresser leg. Paint the area between the floor and the Painter’s Mate Green tape using gold metallic paint.
11 Install new knobs on the drawers.
Latest posts by Canadian Home Trends (see all)
- Dining Room Design Tips - July 13, 2025
- Practical Luxury in Forest Grove - July 13, 2025
- The Hidden Value of Great Design - July 13, 2025


