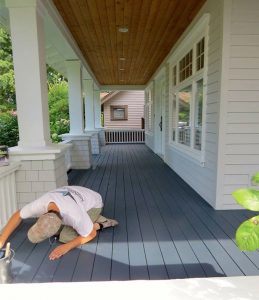
Step 1: Repair
Repair your deck by removing any soft or rotted boards and replacing them with rot-resistant or pressure treated wood. Spot prime any exposed trim ends with Alkyd Stain Blocking Primer.
Pull loose or popped nailheads and replace with a larger galvanized nail. Fill all nail heads with exterior filler. To avoid moisture penetration, caulk all cracks or checks in the deck boards.
Step 2: Clean
Thoroughly clean your deck prior to re-painting. To clean and neutralize mildew and algae spots, use a solution of 1 part bleach to 4 parts water. Soak the area for at least 15 minutes and then rinse well. Give your deck plenty of time to dry before you begin to re-paint.
Step 3: Refinish
Give your deck a fresh look with a solid hide stain like SharkSkin Solid Hide Deck & Siding. This stain provides a rich, creamy texture that hides the natural colour of the wood, masking imperfections and unwanted grain and colour variations. This is especially important if you have had to replace some of the older boards with newer boards that do not match perfectly! SharkSkin is self-priming on properly prepared new or weathered wood and previously painted surfaces so you can skip the primer and get straight to painting.
Crystal Williams
Latest posts by Crystal Williams (see all)
- Blended Styles Viva Magenta Living Room Design Board - July 15, 2025
- Holiday Family Room Design Board - July 15, 2025
- Modern Farmhouse Dining Room Concept - July 15, 2025


