I attended a beautiful wedding this summer and saw a great DIY project using vintage single pane windows. It was the wedding of our dear friends, Serge and Kayla. It was a beautiful reception and designed in a style that could only be described as rustic meets elegance.
As we were greeted at the door, we were then directed to seating charts framed in a vintage window. As usual as soon as the piece caught my eye, my “design wheels” started spinning. It was a brilliant and exquisite idea! Although, the big question was “how could I repurpose this idea and use it in the interior of a home?”
That same weekend, I hunted for vintage windows. I found a few at a flea market and came up with this great vintage wall hanging project.
Supplies:
– Single pane vintage window
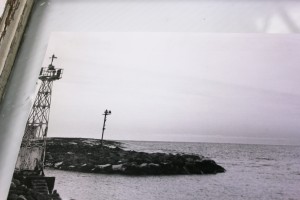
– Black and white photos
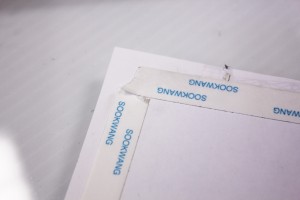
– Double-sided tape
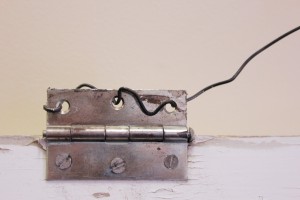
– Wire
Step 1:
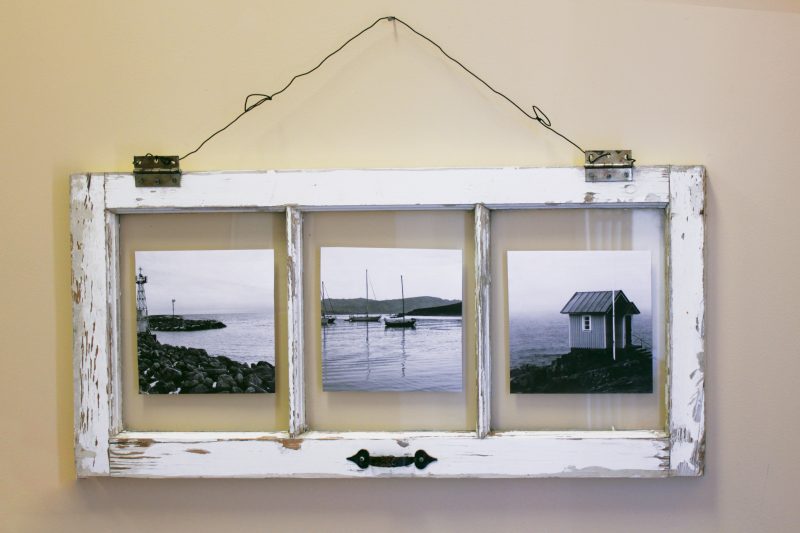
Print black and white photos in the size of your choice.
Step 2:
Using double-sided tape, adhere the photos to the glass.
Step 3:
Attach a piece of wire to the window’s existing hinges and have the wire run along the top of the frame.
Step 4:
Voila, your old window has been transformed into a stunning wall hanging!
Latest posts by Canadian Home Trends (see all)
- 2026 Design Trends: The Evolution of Home Design - July 14, 2026
- Expert Bathroom Design Secrets from Canada’s Best - July 14, 2026
- Treasure Hunting: Discovering Unique, Locally Made & Vintage Home Décor - July 14, 2026