Whether you’re looking for a way to get rid of that last bit of paint from your last home improvement project, or you’re just sick of the look of your same old floors, walls, siding or furniture, whitewashing is a technique worth looking into. What sets whitewashing apart from regular painting, is that it allows the texture of your underlying materials to shine through, giving your surfaces a refreshed feel without masking them completely.
Some tips to keep in mind when you’re whitewashing:
- Whitewashing methods vary according to the surface you are working on. When it comes to wood, whitewashing works best on untreated pine. That said, this technique can also be used on many other surfaces where the desired effect is to loosely conceal the texture of the original materials.
- Before beginning a whitewashing project, test your mixture on a scrap or small surface to confirm that it creates the desired look on your furniture or wall.
- If you’re working with a grained surface like wood, paint in the direction of the grain.
- As long as the paint has not dried, use soap and water to remove the mixture from your surface.
- During application, ensure you are continuously stirring your whitewashing mixture well.
- You may want to apply a water based sealant or a polyurethane over your completed project. If you don’t, you can expect your paint job to fade over time.
Check out these six surfaces you can try whitewashing on:
Your furniture
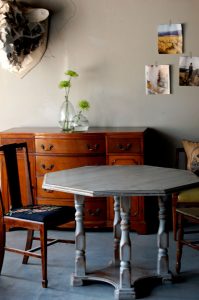
Photo Source: designsponge.com
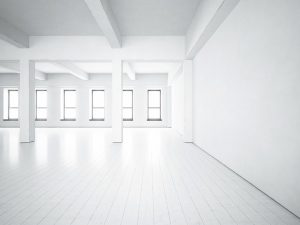
Your hardwood floors
The stucco on the exterior of your home
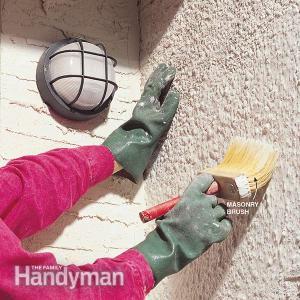
Photo Source: www.familyhandyman.com
Internal or external brick
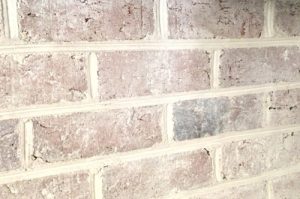
Photo Source: younghouselove.com
Your stone fireplace
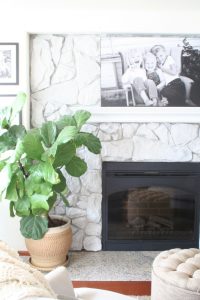
Photo Source: coastalcollectiveco.com
Your pallet/plank walls or ceilings
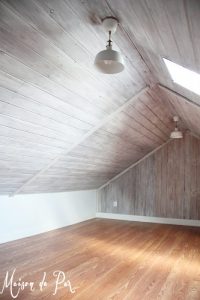
Photo Source: remodelaholic.com
Latest posts by Canadian Home Trends (see all)
- 2026 Design Trends: The Evolution of Home Design - March 28, 2026
- Expert Bathroom Design Secrets from Canada’s Best - March 28, 2026
- Treasure Hunting: Discovering Unique, Locally Made & Vintage Home Décor - March 28, 2026