When I was growing up, pictures were taken exclusively on special occasions and even then, it was dependent on whether or not someone remembered to buy film and fresh batteries. Jump forward a couple of decades and every moment is a picture moment, thanks to advances in digital technology. To say that we are currently in the golden age for picture snapping is probably something of an understatement. For some, this presents a dilemma of sorts: so many pictures, so little wall space. Fear not, this DIY rundown is for you. Keep reading for four fun, space-conserving ways to display your favorite memories.
A Clipboard Gallery
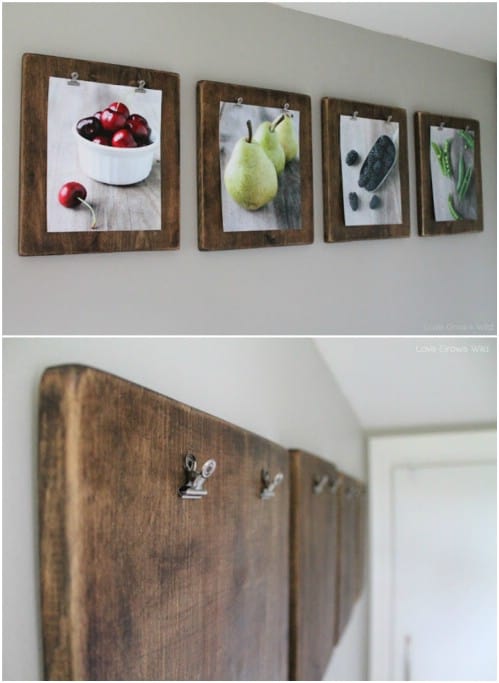
The best thing about this idea: you can change up the images as much as you desire, without having to go through the tedious task of taking apart a picture frame.

Photo Source: lovegrowswild.com
Click here for details and instructions.
Unconventional Framing
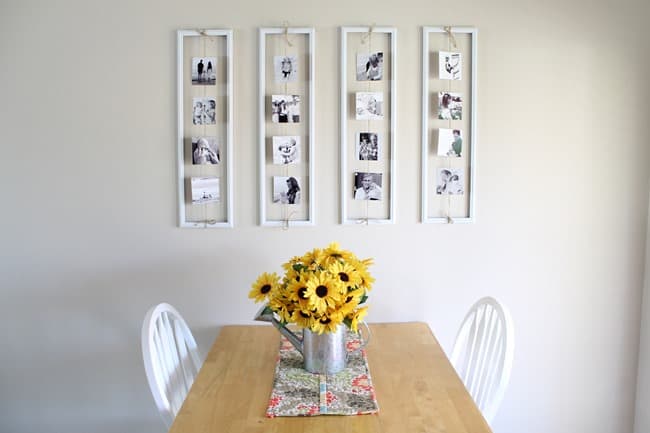
If you insist on a frame, why not make the absolute most of it. This simple DIY uses twine to string photos vertically, using the top and bottom of the frame as anchor points.

Photo Source: alexamariezurcher.com
Click here for details and instructions.
A Photo Wall Hanging
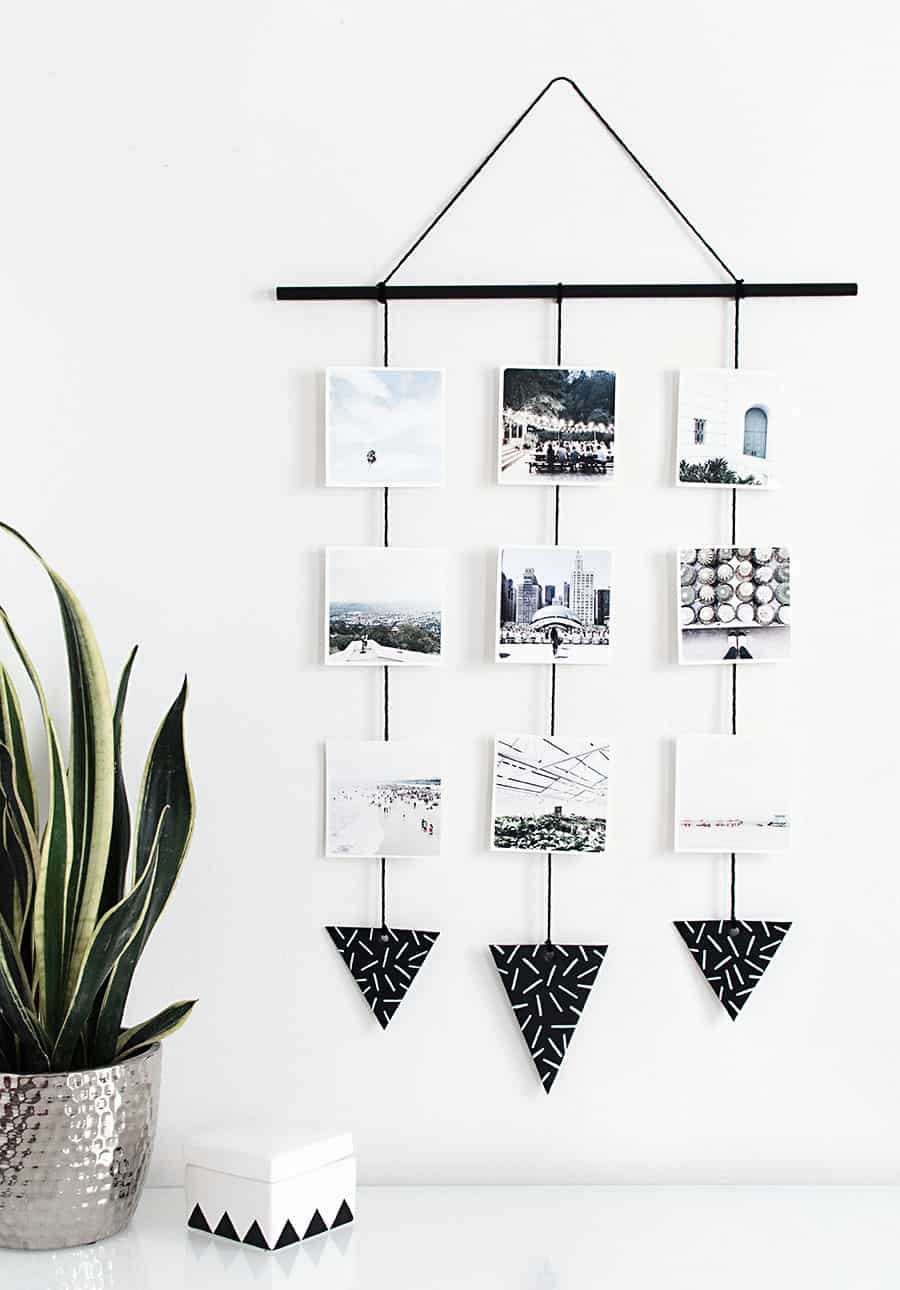
In addition to taking up very little of your precious wall real estate, this hanging photo DIY is the epitome of cute and contemporary. We love the way this idea utilizes the negative space between the photographs.

Photo Source: homeyohmy.com
Click here for details and instructions.
Geometric Wiring
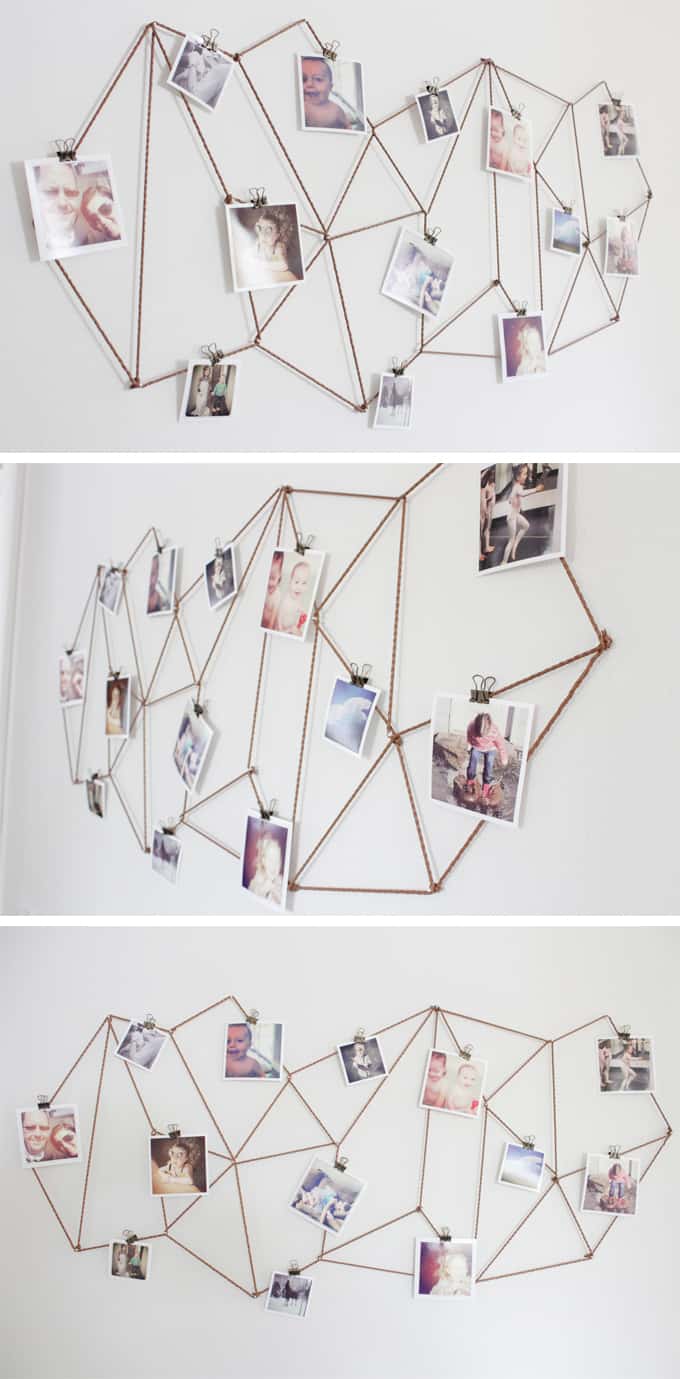
Much like the photo wall hanging above, this DIY also makes strategic use of negative space, in a way that really makes the photographs stand out. Use anything from yarn, to twine, to stretchy jewelry cord, (like this DIY-er did), to form the grid.

Photo Source: thecaldwellproject.com
Click here for details and instructions.
Latest posts by Canadian Home Trends (see all)
- Understanding The Importance of Great Design - February 9, 2026
- The Green Effect: To Clean or Not to Clean - February 9, 2026
- Functional Warm Addition - February 9, 2026


