Photo by Larry Arnal
Nicholas Rosaci shares his DIY secrets to transforming inexpensive consignment store finds into chic and one of a kind showpieces.

Photo by Larry Arnal
As a DIYer, I have been fortunate to come across spectacular treasures to make over just about any where – garage sales, estate sales, goodwill stores, on-line and even at the end of the curb. Consignment stores are also a great resource for DIY and I was “lovestruck” when I recently discovered a brand new concept consignment shop (where much of the proceeds support charity) in Toronto called Elle & Eve!
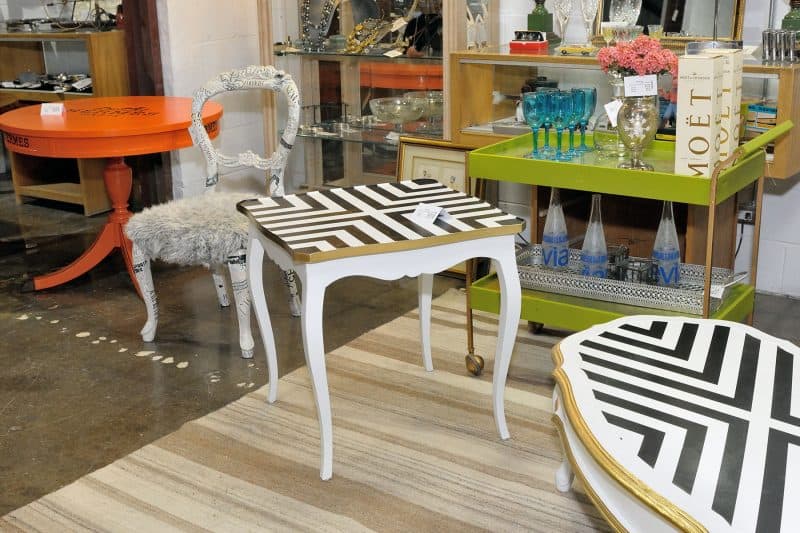
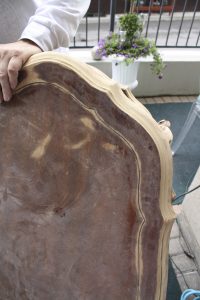
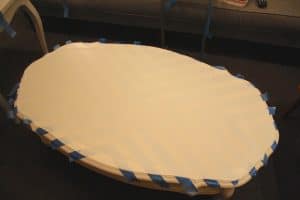
The store features a plethora of beautiful, affordable, previously owned furnishings, vintage and modern items, accessories and unique collectibles. Upon my first walk through, I had spotted at least a dozen pieces I wanted to re-imagine and repurpose including an older round pedestal table with chipped marquetry and brass feet. I knew with a little paint and artistry, I could transform it into an elegant “Hermes” inspired table.
I also spotted a rococo inspired dark wood veneer coffee table and a similarly styled occasional side table that would become an amazing pair just simply painted white. I am not one to keep things simple, so I decided to up the edge factor and go beyond “simply painted white” by adding fashionable black and white “Kate Spade” inspired stripes.
GETTING STARTED
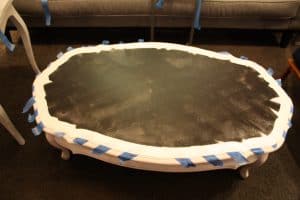
The first secret to making over a piece of furniture is to properly prep. This means using a good sander (a random orbital sander, detail sander, sanding sponges or sanding block for delicate contours) to remove fine scratches and imperfections in addition to roughing up or removing any pre-existing finishes.
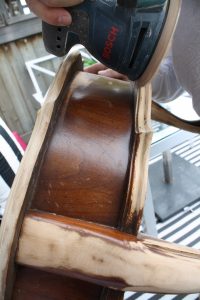
I use an assortment of sandpapers starting with a 60 to 80 grit – the lower the number, the rougher the sandpaper and the more surface finish is removed. A higher grit sandpaper of 150 to 220 is also used for fine smoothing the surface to perfection. After sanding, use a damp tack cloth to make sure to remove any fine dust (which happens to float everywhere), so do it outdoors and wear a dust mask and eye protection.
Cracks and gouges are often repaired by filling them in with a wood filler or an automotive epoxy filler that can be sanded smooth and often coloured to match the surface. Hardware on the piece is inspected and cleaned, repaired, added, removed, or replaced for more stylish options.
I often use BEHR Premium Plus All-in-One Primer and Sealer for the undercoat because it dries quickly, is perfect on glossy surfaces, and blocks out heavy stains. I prefer to paint on 2 thin coats and when dry, I give the table a quick light sanding (220 grit or higher) to remove any brushstrokes before the top coat.
For the topcoat, I used a white and black alkyd enamel paint because it doesn’t chip as much and provides superior strength compared to a regular interior latex paint. I like to use a small artist’s brush to first apply paint in the hard to reach places and for tiny details. A small foam paint roller is then used to apply several light coats to the piece. It is always best to apply the paint quickly in a few long and slightly overlapping strokes while the paint is still slightly wet – the more you go back and forth with the roller in short strokes as the paint dries, the more paint “roller lines” may appear.
FOR THE HERMES INSPIRED TABLE
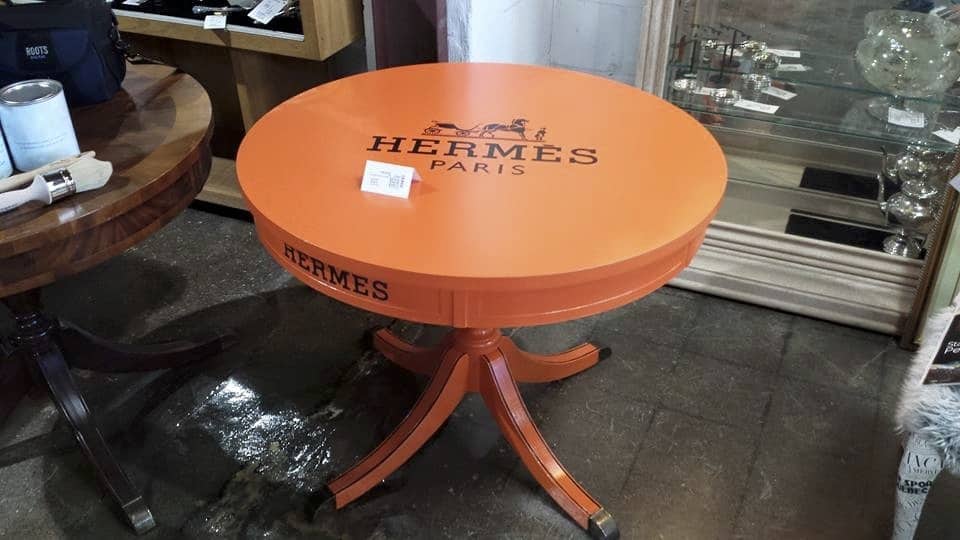
The table was a great find from “Elle & Eve” and only needed to be sanded and prepped. I selected a great Orange paint called “Emergency Zone” from BEHR that was similar to Hermes Orange for the finishing topcoat of glory.
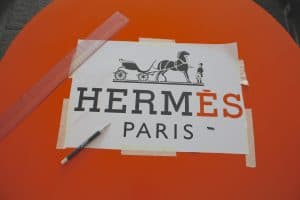
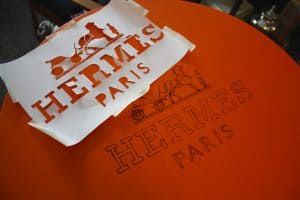
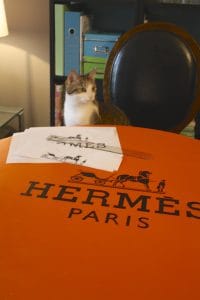 I photocopied and enlarged the Hermes image I sourced on the net on regular printer paper and centered and affixed the image to the tabletop using removable masking tape. I then carefully cut out the image details with a sharp craft knife to score the painted surface below so that a faint outline of the logo remains when the taped paper is removed. My trusty black fine tip sharpie marker is the secret to creating a crisp colouring book outline of the logo: I used the sharpie to trace along the scored paint lines to make a black outline of the logo on the tabletop surface that is easily filled-in using a fine artist’s brush and a rich black gloss paint “Totally Black” from BEHR to finish. Even Kitney Spears, my crafty cat and DIY assistant, couldn’t believe how well the logo turned out!
FOR THE KATE SPADE INSPIRED TABLES
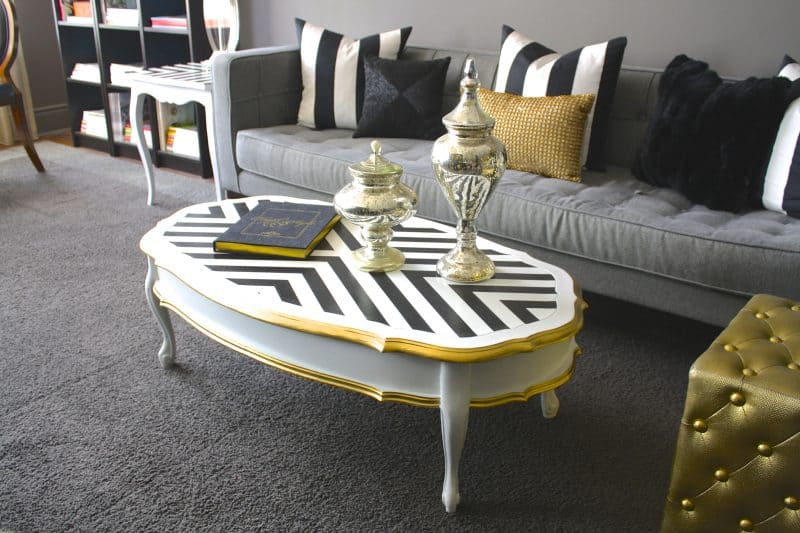
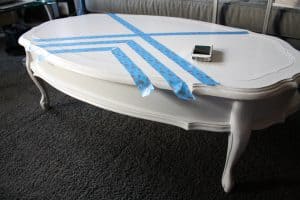
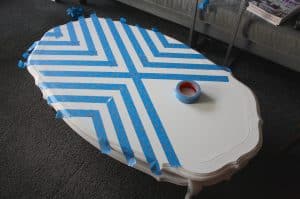
To create the alternating black and white Kate Spade inspired stripes, I first painted entire tabletop with a topcoat of the white “Winds Breath” from BEHR and let dry. Using strips of removable painters masking tape, trimmed and cut perfectly with a sharp craft knife, I started with an X pattern across the center of the tabletop, and then used smaller pieces of tape to create the “V” like arrows within each section of the X. Use the tape as a spacing guide for placing the stripes perfectly.
When the taped pattern is completely affixed to the tabletop, use the foam roller to apply another thin coat of the white topcoat paint over the entire surface. This locks and seals the tape edges so a second topcoat of black paint (which forms the black stripes) will not bleed underneath the masking tape and ruin the “white stripes”.
Once the “sealing” coat of white paint is dry, repaint the entire surface of the table top with the black topcoat “Totally Black” from BEHR. When the black topcoat is relatively dry, carefully remove the tape to reveal a crisp white striped pattern that alternates perfectly with the black.
Option: Spray the entire surface with a clear coat non-yellowing finish (such as Rust-oleum Crystal Clear Enamel) that will add a beautiful, protective sheen.
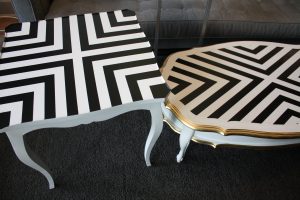
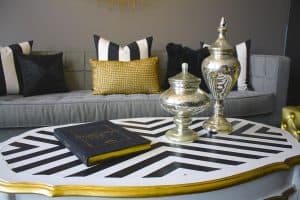
As a final elegant touch, I covered the entire table in paper leaving only the tabletop edges exposed, and then sprayed the exposed edge with a Rust-oleum metallic gold spray paint for more lux.
Latest posts by Nicholas Rosaci (see all)
- Glamorous Office Design - July 4, 2026
- Nicholas Rosaci’s Modern Canadian Cottage Design Board - July 4, 2026
- How Do You Make An Easter Special? - July 4, 2026