Christmas is the perfect time of year to add a little (or a lot) of sparkle to your decor! Krylon makes a special glitter spray called Glitter Blast™ that is perfect for adding sparkle everywhere! I love it for adding sparkle to existing decor pieces.
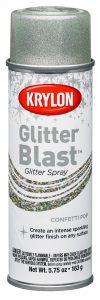
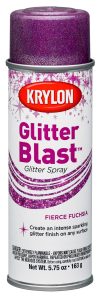
Glitter Blast™ comes in 16 gorgeous colours including four new colours: Grape Glitz, Sapphire Shimmer, Fierce Fuchsia, and Confetti Pop. It can be used on wood, metal, wicker, plastic, glass, craft foam, plaster, ceramic, fabric, paper, and paper mache which makes it perfect for almost any project! It is great for DIY projects like this Trio of Glitter Cones designed by Kathleen George!
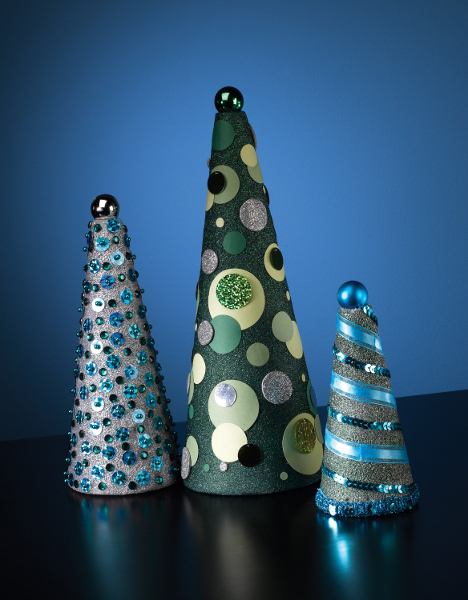
Polka Dot Cone
You will need:
- 15” Styrofoam cone
- Krylon® Glitter Blast, Lucky Green
- Scrapbook papers, three coordinating shades (dark, mid-value, light)
- Holographic silver, self-adhesive foamie sheet
- Hole punches in variety of sizes (we used, 2”, 1 ¼”, 1”, ¾”, ½”, 5/16”)
- 1” yellow green glitter sequins
- Small round ornament in coordinating color
- Yes! Paste
- Serrated kitchen knife, old candle or bar of soap
- Narrow putty knife
- Sequin pins
- Thick, white craft glue
Instructions:
- Wax serrated knife blade with soap or old candle. Slice off 1” from the base of the cone using the serrated kitchen knife. Smooth cut edges with your finger tips.
- Thoroughly spray paint cone with Glitter Blast; let dry.
- Punch out a variety of sizes and colors of circles from scrapbook papers and foamie sheet.
- Attach the paper circles to the cone using Yes! Paste. Use the narrow putty knife to spread a thin layer of paste over the backs of some of the large sized circles first. Place the polka dots on to the cone in a random pattern, smoothing the paper down with your finger tips.
- Next, adhere mid-sized paper and foamie circles around and on top of the larger circles. Pin on 1” glitter sequins. Use the photo as inspiration for placement.
- Add the smallest sized paper polka dots last to create a balanced, pleasing arrangement.
- Make a hole in the very top of the cone with a pencil point. Press the neck of a small tree ornament into the hole and secure with a drop of glue.
Ribbon Cone
You will need:
- 12” Styrofoam cone
- Krylon® Glitter Blast, Luck y Green and Silver Flash
- Coordinating sheer ribbon
- Coordinating sequin trim
- Small round ornament in coordinating color
- Thick white craft glue
- Craft pins
Instructions
- Spray paint cone with Lucky Green Glitter Blast; let dry. Lightly spray with Silver Flash Glitter Blast, adding silver highlights.
- Spiral ribbon around cone, anchoring in place with craft glue and craft pins. The ribbon stripes should be approximately 1-1/2” apart. As you wind the ribbon, cut small snips in the edges so ribbon will lay flat.
- Glue and pin sequin trim in between the ribbon spirals.
- Make a hole in the very top of the cone with a pencil point. Press the neck of a small tree ornament into the hole and secure with a drop of glue.
Beaded Cone
You will need:
- 9” Styrofoam cone
- Krylon® Glitter Blast, Silver Flash
- ¼” flat backed acrylic rhinestones in coordinating color
- 5/8” sequins to match
- Straight pins with colored heads, to match
- Small round ornament in coordinating color
- Yes! Paste
Instructions:
- Spray paint the cone in Silver Flash.
- Using straight pins, pin sequins at random all over the cone.
- Use Yes! Paste to attach flat backed acrylic jewels in and around the sequins.
- Make a hole in the very top of the cone with a pencil point. Press the neck of a small tree ornament into the hole and secure with a drop of glue.
Crystal Williams
Latest posts by Crystal Williams (see all)
- Blended Styles Viva Magenta Living Room Design Board - July 13, 2025
- Holiday Family Room Design Board - July 13, 2025
- Modern Farmhouse Dining Room Concept - July 13, 2025


