 Text by Lily Sokhi
Bored of looking at the old fireplace? Have you been dreaming of replacing your mantel with a marble one? Or would you rather have old slate or antique stone? What is stopping you? The cost? Hassle of demolition? Now you can do it without demolishing the old one and without spending big bucks. Interested? Read on. You can change the mantel within hours to a beautiful piece of marble by spending 50 dollars. Don’t believe me? All you need is a few dollars for some paint, a brush and a rag, and you can achieve all these looks.
There are various techniques such as sponging, rag rolling, stippling and paneling that can give your home unique charm and character. Beautiful color effects can be achieved with minimal materials and the most basic set of instructions. The material used for each technique varies and is very inexpensive. The results are astounding and can fool anybody into believing that it cost you a fortune.
Spend some time going to the hardware stores, looking at the options available. Choose a look you really like and consult the paint specialist. Take some pictures of the room with you so the specialist will have a better understanding of your project. They can best advise you whether or not the look you are selecting is suitable for the room. And they will also be able to give you guidance about the material required. Choose the best quality colors. Not only will they last longer, the look will also be very distinct.
Before you start the painting, you first have to prepare the surface. Make sure you do a thorough surface preparation. This includes washing away any dust, dirt and mildew; filling cracks and holes; and priming where necessary.
Sponging is a quick and simple technique. Choose your colors. You can either choose a darker shade for the base and lighter shade of the same family for the tone on tone damask effect or the opposite for more definition and texture.
Start by giving the walls a solid base paint color. After the base coat dries, apply a wash or glaze on top with a dampened sponge to create a speckled look. If you wish to apply more than one color you can, but give sufficient drying time between each color application. Sponging off is accomplished by applying a uniform glaze coat over the solid base with a brush or roller. Before the glaze coat begins to dry, use the sponge to remove some of the glaze to expose the undercoat.
Ragging techniques give the walls the dramatic look of crushed velvet, or leather, watered silk or brocade. Begin with the application of a solid color base and allow it to dry. For “ragging on,” dip a crumpled cloth in a glaze or wash and splotch on the wall. “Ragging off” involves lifting off part of the glaze coat to reveal the under coat. Using different fabrics will create different effects. Popular materials include linen, lace, and burlap. Almost any natural fiber material will do as long as it is clean and lint-free. Layering glazes works well with this technique as long as each layer is allowed to dry thoroughly.
Distressing is used to create an aged look. This technique is used for wooden furniture, cabinets, vanities etc. Begin by choosing two colors that compliment your existing color scheme. If the piece of furniture is new, give it a little bit of hammering to give it a used look. Now apply the base color and let dry for a few hours. Then using a hundred grit sandpaper, lightly sand off patches of paint letting the surface below show through. Dust off the surface and let dry 24 hours. Repeat the above process using the second color. Let it dry 24 hours. Once you are satisfied with the look, apply a coat of clear lacquer. This will protect the distressed look.
Marbling is a very effective look for mantels or fireplaces. It’s a good idea to have a piece of marble you like before starting your project to mimic its colors and veining. Choose base coats and top coats to match the desired base marble and the textured effects respectively. Start by applying two coats of basecoat, allowing each to dry thoroughly. Next, add one tablespoon each of white spirit and oil glaze to your topcoat color. Apply sparingly with an artist’s brush. Now wipe away varying amounts of wet glaze, allowing patches of light and dark to form. Finally, to create the “veins” of marble, use a thin artist’s brush to apply the glaze in lines of varying widths to achieve the desired look.
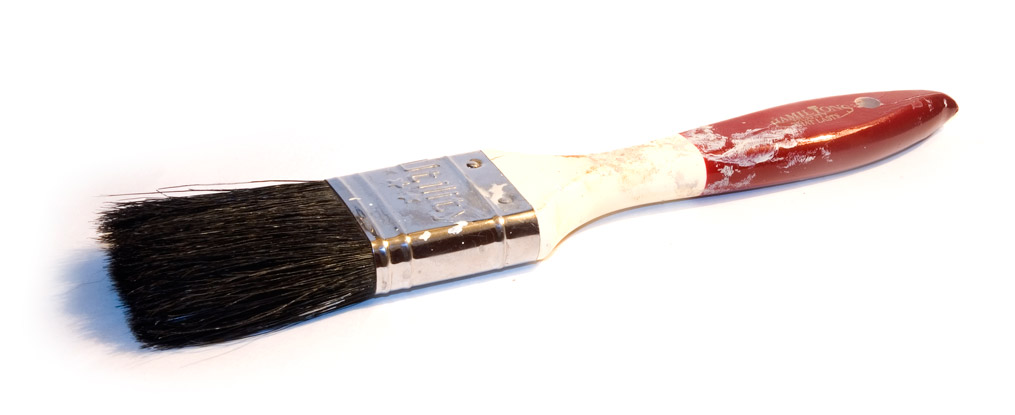
Color wash, wood graining, spattering, dragging and endless other looks can also be achieved with simple techniques. So go ahead, pick up the brush and let the artist in you emerge.
Latest posts by Canadian Home Trends (see all)
- 2026 Design Trends: The Evolution of Home Design - July 11, 2026
- Expert Bathroom Design Secrets from Canada’s Best - July 11, 2026
- Treasure Hunting: Discovering Unique, Locally Made & Vintage Home Décor - July 11, 2026