Design a bathroom – Are you thinking about a bathroom remodel but find the whole process overwhelming? Are you working with a super small space and want to get the most storage possible? I can help! Here are 5 simple steps that you can use to design a bathroom oasis.
Step 1 – Vanity
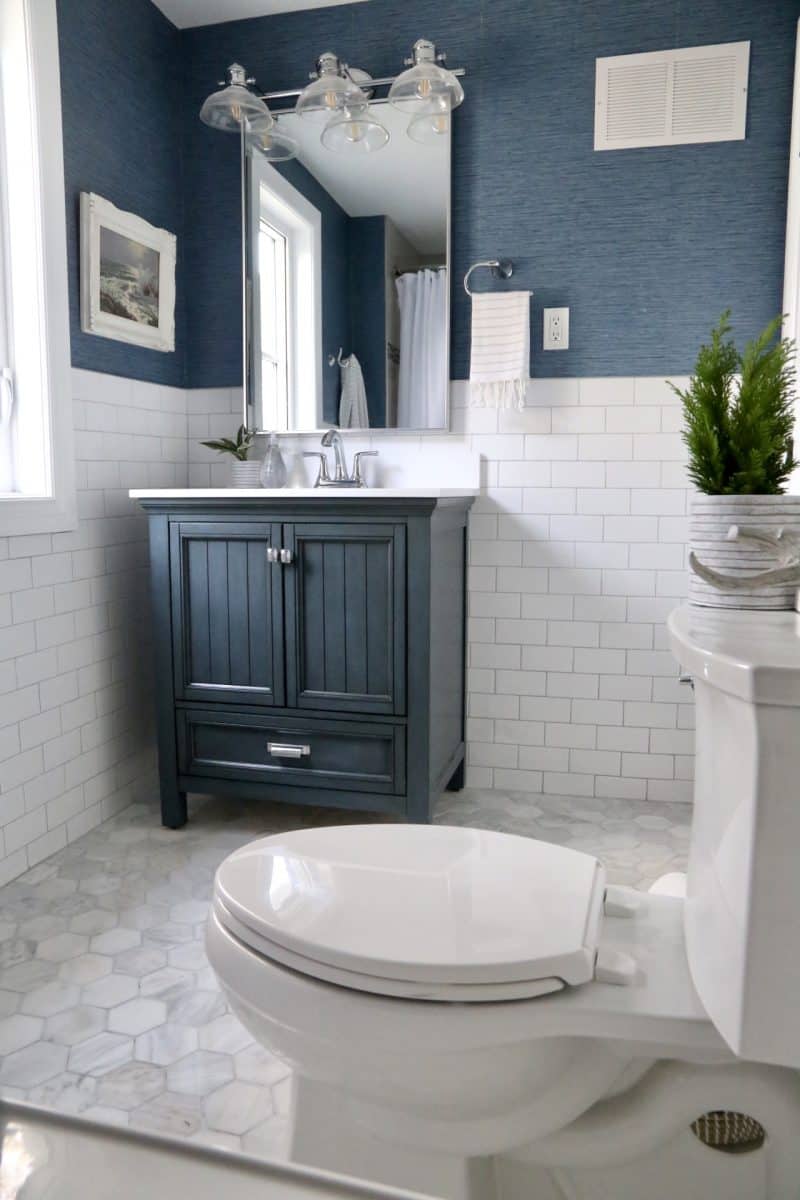
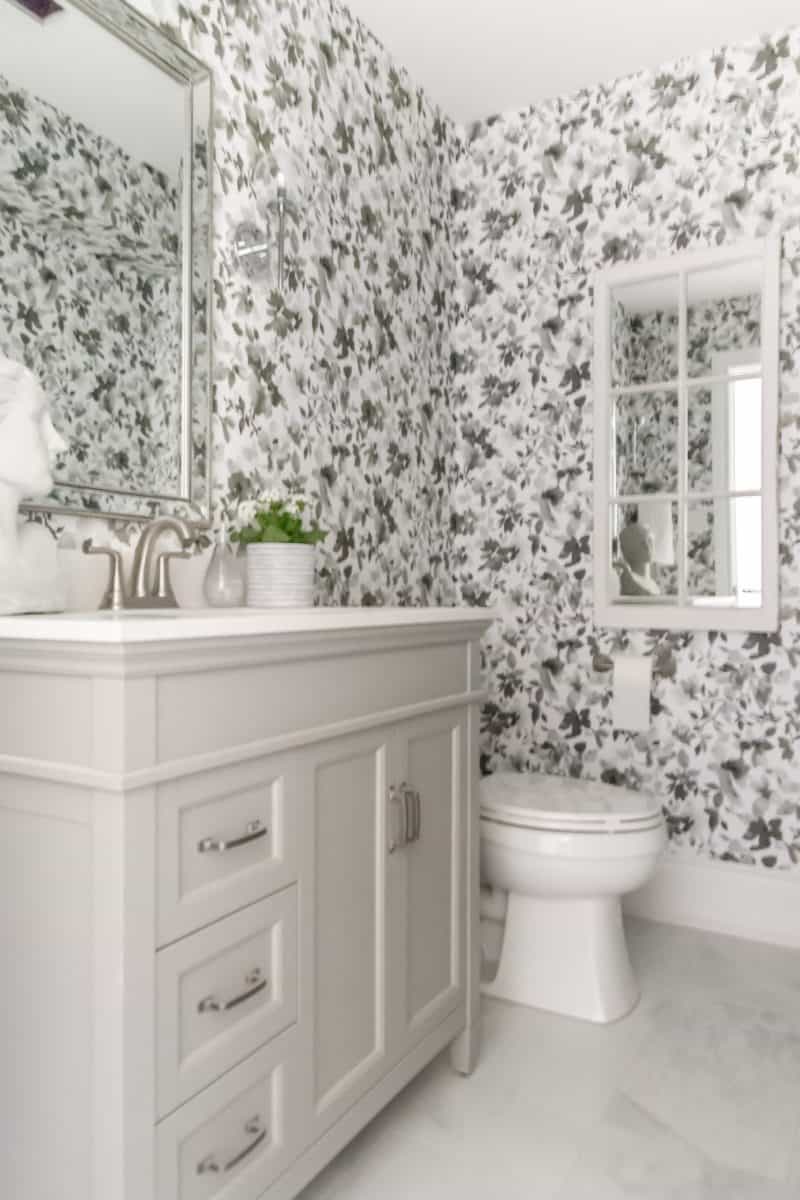
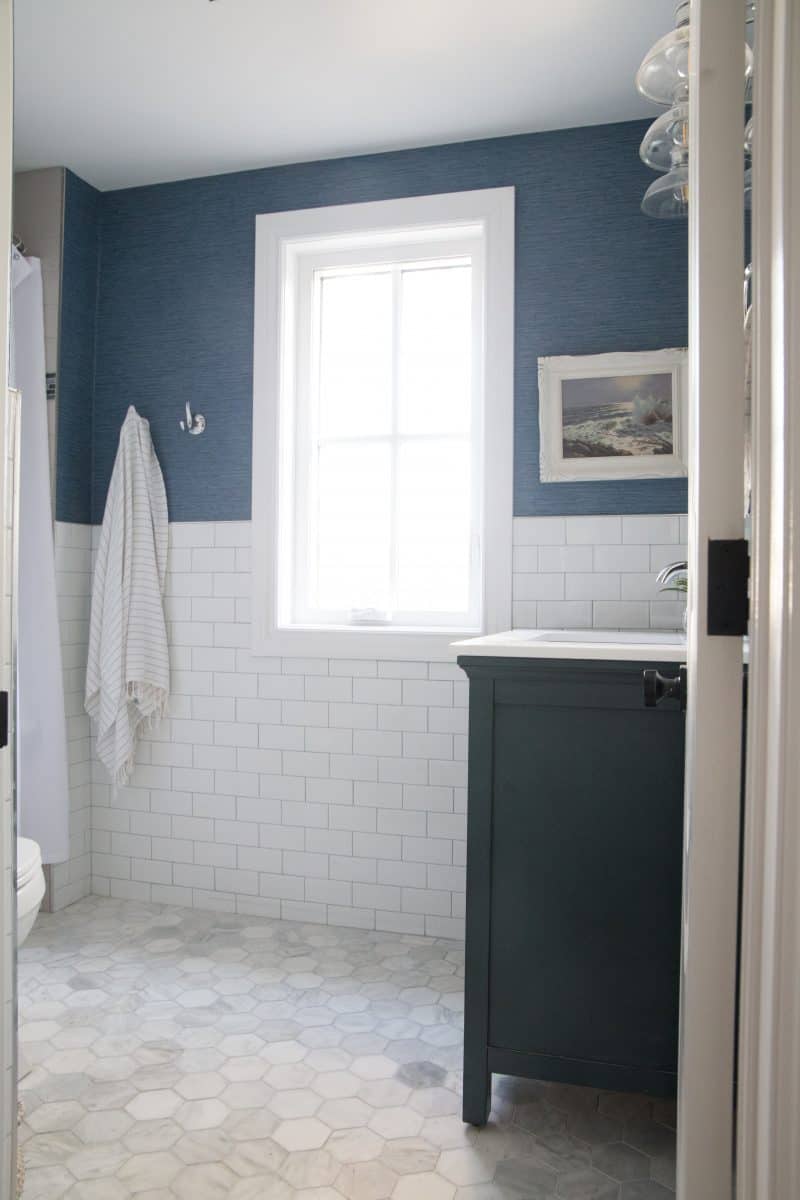
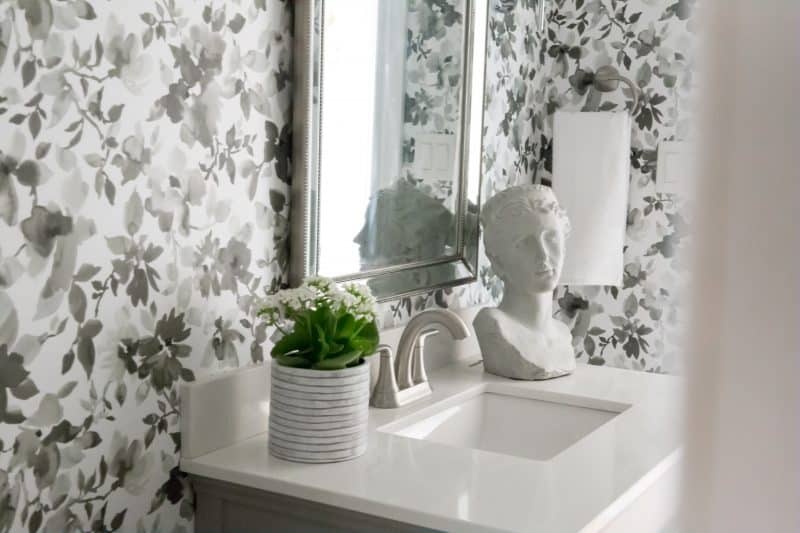
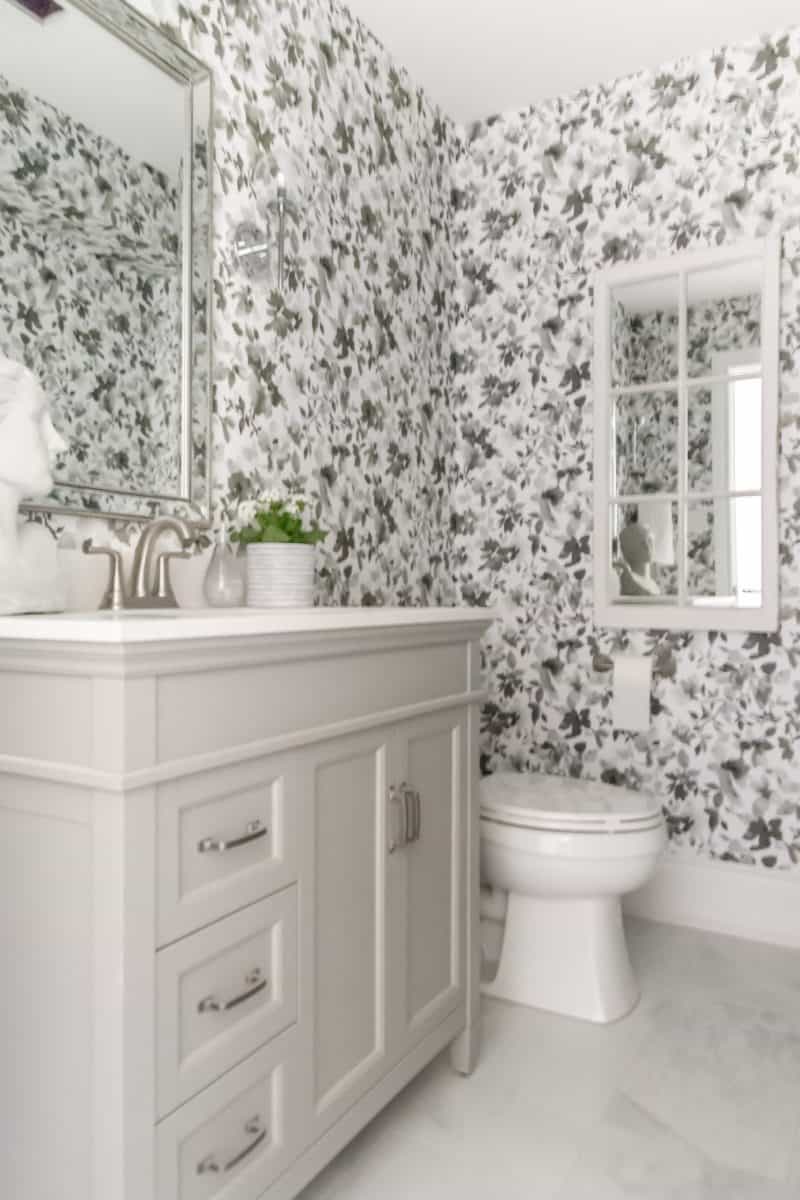
With any space I always choose the biggest piece of furniture first – even in a small space! When I design a bathroom, that’s the vanity. Always remember to measure to allow for the biggest vanity possible because well… storage. That’s my main priority anyways, I decided to go with this gorgeous Brantley vanity from Foremost for my Kid’s bathroom. The colour is just so good and the details are beautiful. For our powder room I chose the Ashburn Grey vanity also from Foremost as well. Both are available at The Home Depot Canada online and are stunning. They really help by adding the storage that was so needed in these small spaces.
Step 2 – Faucets & Hardware
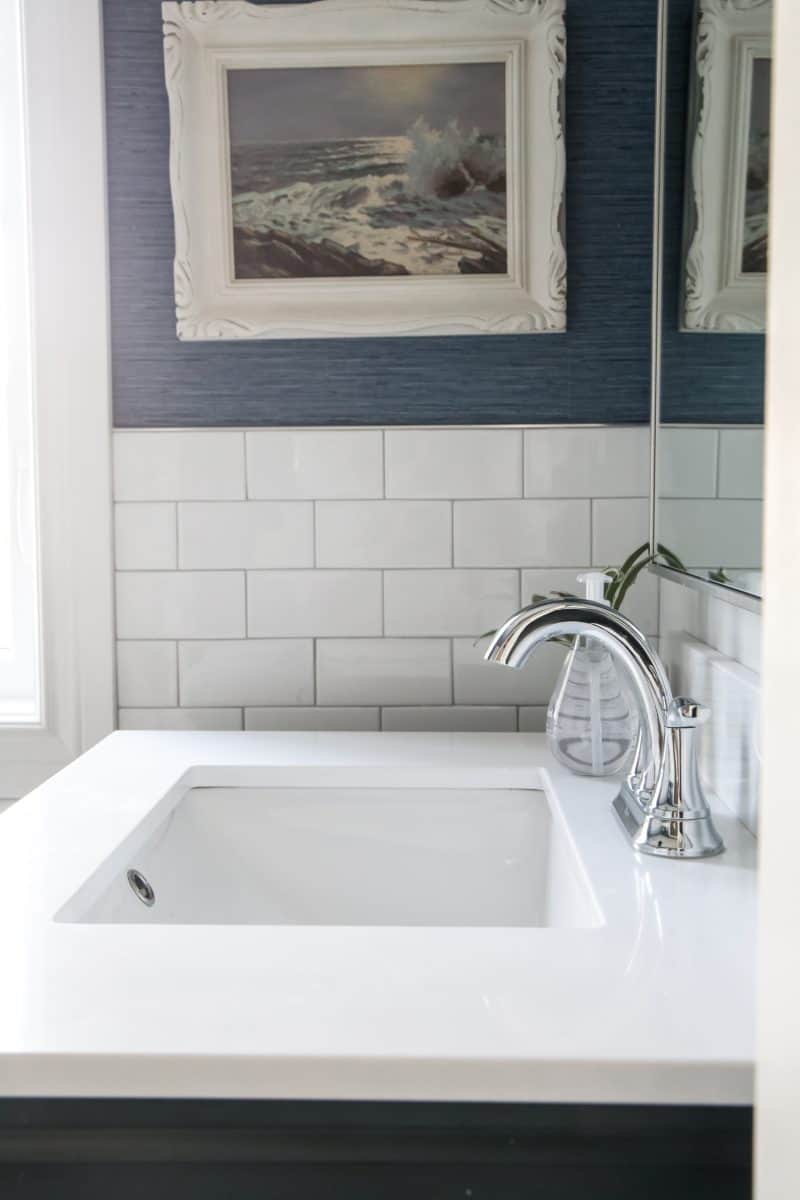
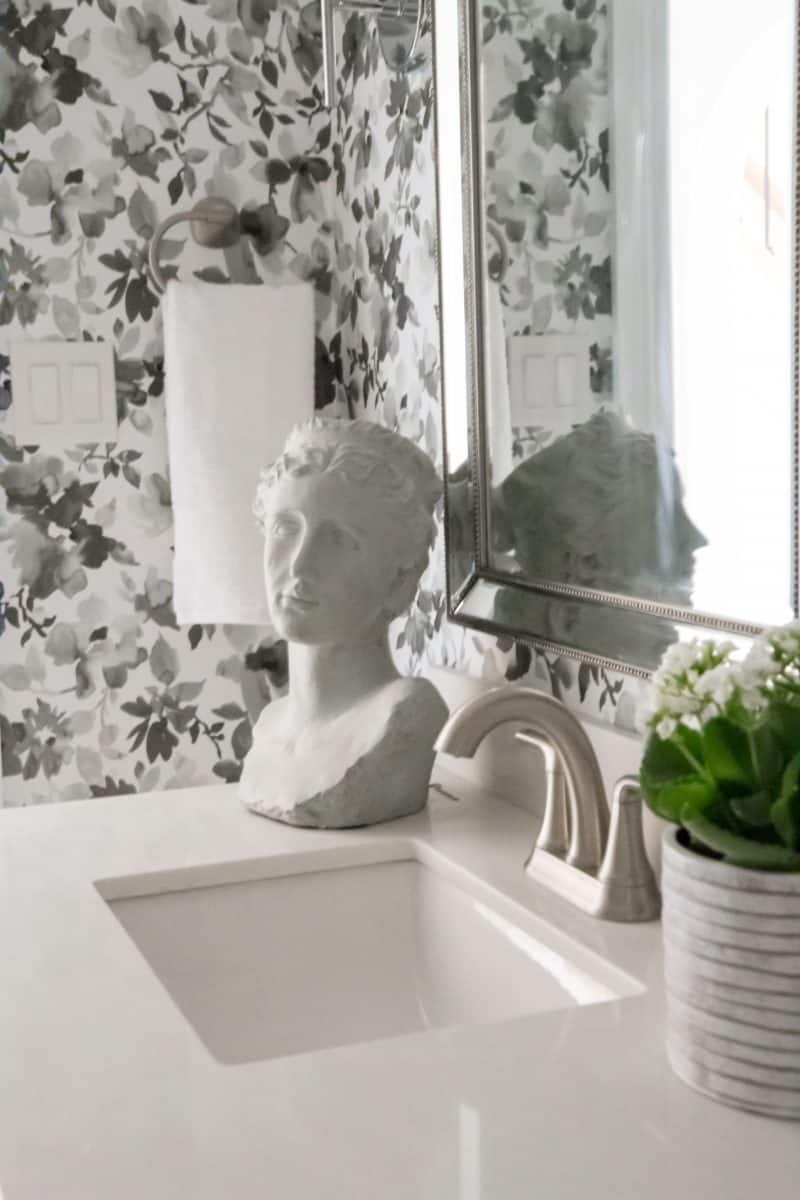
The next step to design a bathrom is to choose your faucets and hardware. For both of the vanities I selected the Ladera Collection by Pfister faucet. It has a great mix of straight lines and sweeping curves that work with any aesthetic. It’s a timeless design. Once you decide on the faucet and the configuration you’ll need to decide on the finish. I selected the polished chrome for my kids bathroom. I just loved how it worked with the knobs on the vanity. For the powder room I chose the spot defense brushed nickel. This prevents fingerprints and water marks woohoo! So for a bathroom that’s going to get a ton of use it was the perfect selection.
Step 3 – Tile
When it comes to tile when you design a bathroom, you’ll want to work with the tones of your vanity. My biggest tip for choosing tile for a small space is to keep it consistent. When you use the same tile on the floor in the entire room it makes the space look bigger. Another tip is to use a lighter colour on the floor to draw your eye upwards. This can also give the illusion of a larger space. I chose a beautiful honed marble tile in a hex shape for the kid’s bathroom. I loved that it was playful and geometric. For the powder room I was looking for something with subtle veining that wouldn’t clash with the floral wallpaper. We ended up going with a large warm grey tile. I needed something that would be easy to clean as I know this bathroom will get a lot of traffic. Bigger tiles and less grout was the way to go.
Step 4 – Lighting
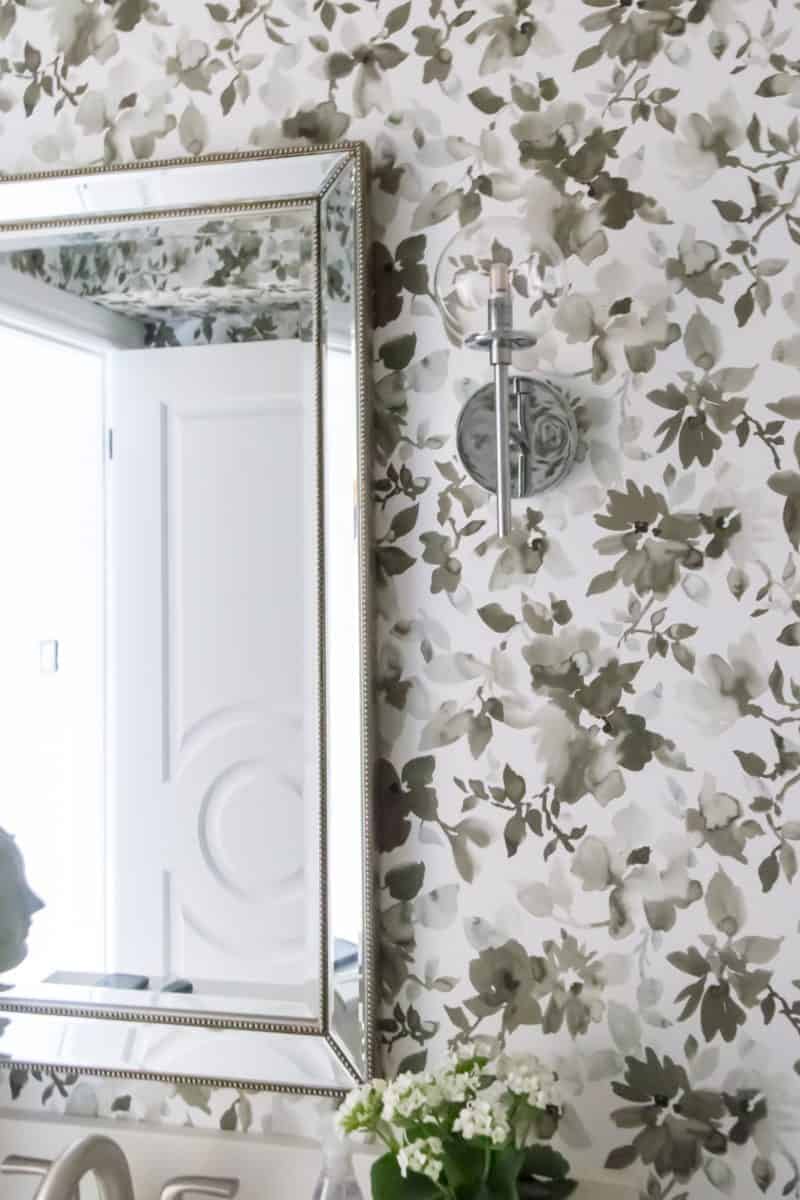
Time to choose your bathroom lighting. First, start by deciding which type of light will work best in your space. Don’t feel like you need to choose small light fixtures for a small space. This can actually enhance how small your space looks and feels. Instead, select options that allows the most light into the space and help to enhance the overall design. There are thousands of options to choose from on HomeDepot.ca. After that you’ll want to decide on your finish. My rule of thumb for finishes is to stick with two in a bathroom. When you start to add more than that it can make things look busy and cluttered.
Step 5 – Wall Treatments & Accessories
The last thing you’ll want to decide on when you design a bathroom are the accessories and wall treatments for your space. Wallpaper always adds so much character and can be so cost effective in small spaces. When it comes to accessories, I found most of mine at The Home Depot. In fact, I love using baskets as garbage cans or just as decoration. I found this one for $15! A really simple trick is to fill one with toilet paper rolls. Practical, pretty and a little extra storage too. Don’t forget your hand towel rack and toilet paper holders. I chose the Ladera Collection from Pfister for both of my bathrooms.
Latest posts by Jaclyn Harper (see all)
- 5 Steps to Design a Bathroom Oasis - February 17, 2026
- 5 Tips to Help Brighten Your Mood During Isolation - February 17, 2026
- Master Bathroom Decor Reveal - February 17, 2026

